No ballroom look is complete without a little jewelry! However, even something as simple as a bangle can cost you anywhere from $60 - $80 per bangle from most Dancesport jewelry companies. That's why I've put together a simple how-to for creating some of your own bling for a fraction of the cost!
What you need:
Click on the images if you need to order any of the items for the project.
What you need:
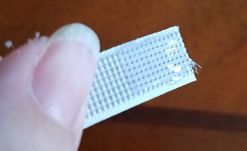
- Boning
- Spandex (SpandexWorld.com, SpandexHouse.com, or Local fabric shop) - I recommend choosing a color to match your stones or nude if you're using crystal or crystal AB
- E6000
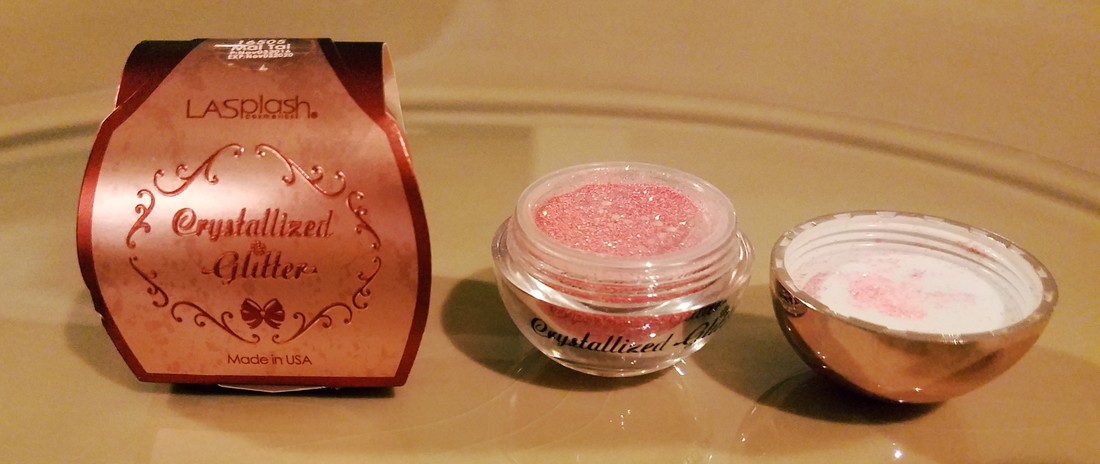
- Rhinestones (RhinestoneGuy.com) - I recommend size 16ss for these bangles
- Pick Me Up tool
- Binder clips
- Scissors
Click on the images if you need to order any of the items for the project.


How much time it takes:
Steps:
1. Measure around the widest part of your hand. This will become the circumference of your bangle.
- Working time = ~30 minutes/bangle (mostly depending on how quickly you stone)
- Drying time = 84 hours (split into one 12-hour period and one 72-hour period)
Steps:
1. Measure around the widest part of your hand. This will become the circumference of your bangle.

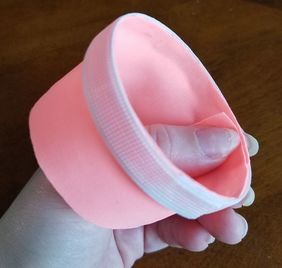
2. Measure out the boning so it’s as long as your hand measurement. BEFORE cutting, bend the boning into a bangle and make sure you can slip your hand through it. If your measurement is a little off (too big or too small) adjust accordingly.
3. Cut a piece of the boning the length of the measurement you just took (with any adjustments) PLUS an additional inch for overlap.
4. Apply E6000 to 1 inch of the boning and overlap the two ends.
3. Cut a piece of the boning the length of the measurement you just took (with any adjustments) PLUS an additional inch for overlap.
4. Apply E6000 to 1 inch of the boning and overlap the two ends.
5. Clip the center of the overlap with one of the binder clips.
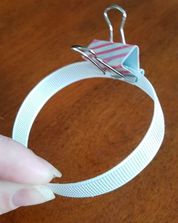
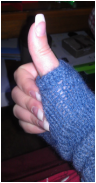
6. Let it dry for at least 12 hours. E6000 takes 24 to 72 hours to fully set, but after about 12 it should be dry enough to continue making your bangle. In the meantime, you can cut your fabric.
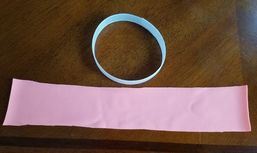
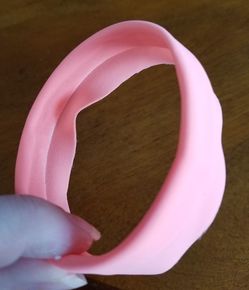
7. Cut a piece of your spandex that is the length of your measurement PLUS .5” for overlap, and 1.25” wide (assuming you are using the .5” boning). This allows the fabric to wrap around the entire bangle and overlap on the inside.
8. Remove the clips from the boning once the glue has dried sufficiently.
9. Apply a layer of E6000 to the inside of the bangle. It doesn’t have to be pretty and it doesn’t have to be super thick. You just need enough to cover the surface inside.
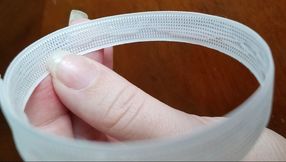
10. Press one side of your material along the inside, aligning the fabric edge to the edge of the boning. When you get to the overlap you can dab a little extra E6000 on whichever end is going to be on the bottom and press the other end on top.
11. Roll the rest of your material around the bangle until the free edge is back along the inside.
12. Apply another layer of E6000 to the inside of the bangle. You only need to cover half the width closest to your free fabric.
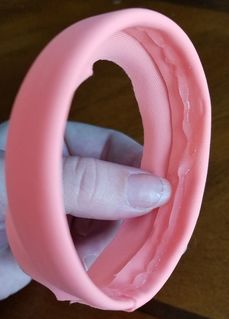
13. Press down the free edge of the fabric, lightly pulling so the fabric is snug around the boning.
14. Apply a dab of E6000 to the overlap on the bottom piece of fabric.
14. Apply a dab of E6000 to the overlap on the bottom piece of fabric.

15. Begin stoning!
16. Work in small sections and apply E6000 across the outside of your bangle. This is so your glue doesn’t dry faster than you can place stones on it.
17. Place your stones on a mat, plate or another contained surface where you can spread them out in a layer. This makes it easier to pick up the stones one by one.
18. Press the sticky side of your Pick Me Up tool on the top of the rhinestone (the non-flat side). The rhinestone should stick to your tool as you lift it and move it to the bangle. It may take a little practice to get the right amount of pressure, but you shouldn’t have to press too hard to grab the rhinestone.
19. Press the rhinestone into the E6000. Continue placing rhinestones across in a row (I’ve found the row will comfortably fit 3 16ss rhinestones). Once you’ve finished a row, start the next.
20. Continue around the bangle until you’ve returned to your starting point. If there’s a little extra space between your first and last row of stones, then simply move the last row of stones a little closer to the first row to eliminate some of the extra gap.
21. Let dry for 72 hours.
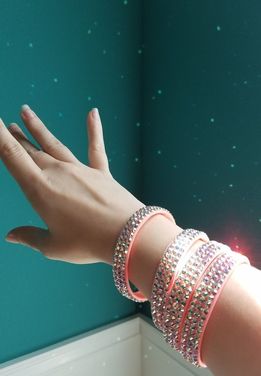
22. Voila, you’re done!
21. Let dry for 72 hours.
22. Voila, you’re done!
Now if you’re more comfortable sewing there is a similar tutorial found here. I recommend switching back once you’ve sewn the bangles, as the glue used isn’t as strong as E6000 and the method for stoning is more time-consuming.
And of course, if you aren't feeling crafty and would rather purchase ballroom jewelry, feel free to check out our Etsy shop for some reasonably priced bracelets!
Let us know how your bangles come out and feel free to share pictures of your beautiful creations! We can never get enough sparkle! Until next time, happy dancing and happy stoning!


 RSS Feed